Unity3d Project Location:
Unity3d is an excellent cross-platform tool for developing interactive content. Unfortunately some desirable work-flow features are just not available. One such feature is the ability to change the default Project Location where all new Unity projects are saved. With Unity, I find myself creating new projects quite often to test new features and ideas. Being able to set a custom default Project Location would be a great time-saver so I would not have to drill-down into a file dialog to locate a specific folder.
While searching for a solution I found many others looking for the same feature. Unfortunately, no solutions were available. I found one mention of a registry key which could be altered but that did not work. I used the Microsoft Process Monitor to view registry and file access by the Unity process but I never saw any interesting data being read.
After some quick tests I found that Unity always uses the personal documents folder. The personal documents folder is located by Unity using the Microsoft SHGetFolderPath API. By default, Unity saves new projects under a folder named “New Unity Project (X)” under your personal documents folder. So, the task is to get Unity to read a different value for the personal documents folder.
The following details how to update Unity running on Windows. These steps are not valid for Unity running OSX or Linux.
Instructions:
In order to get Unity to display a custom Project Location folder when you select File | New Project … you must update a value in the Windows registry. To accomplish this, create a simple Visual Basic script to update the personal folder name, launch Unity, then revert the personal folder name when Unity is closed. Here are the step-by-step instructions …
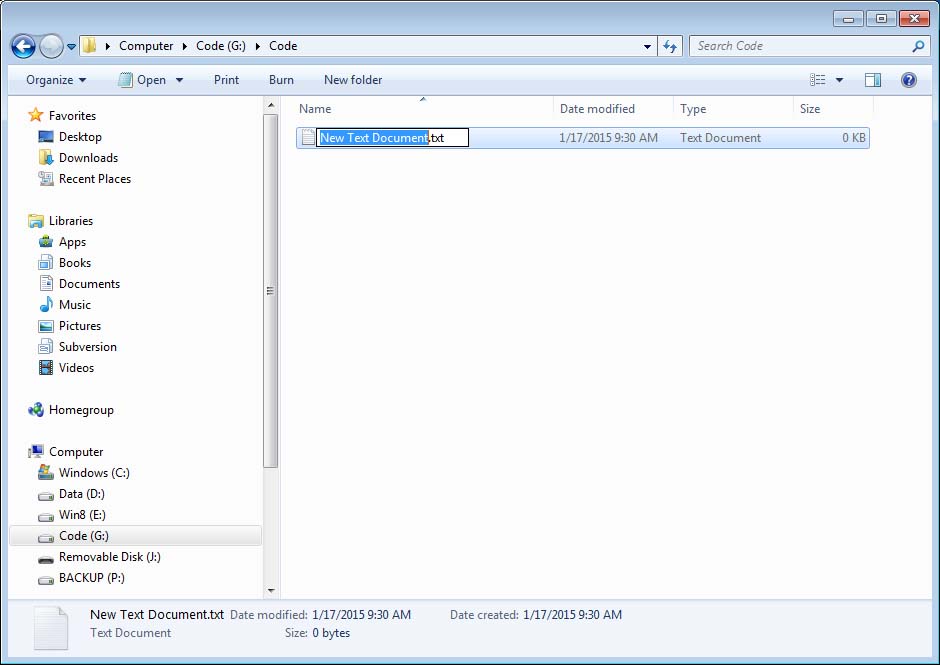
Create a new empty document (e.g. within Windows Explorer Right-click New | Text Document)
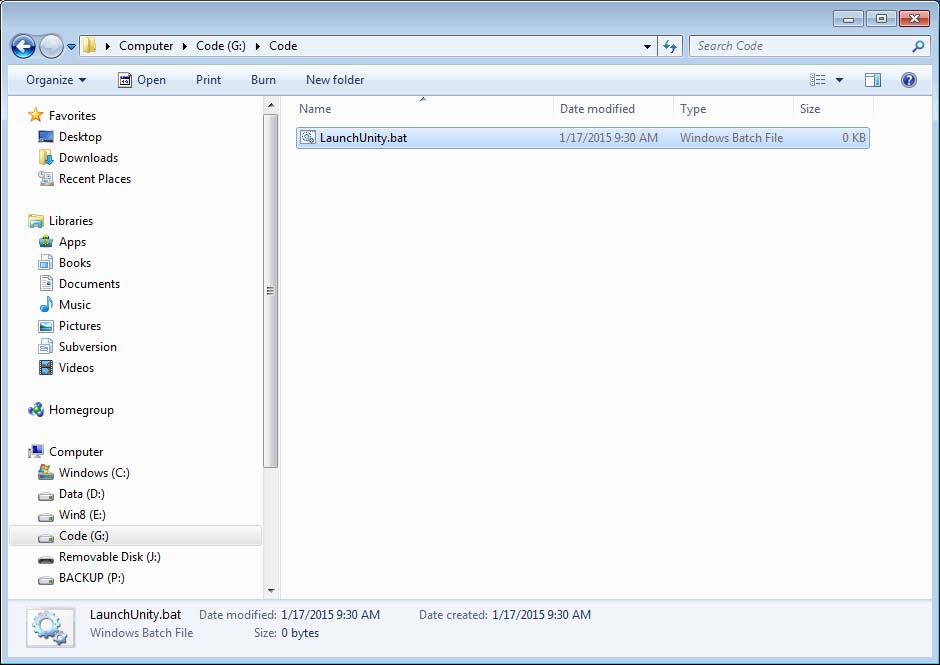
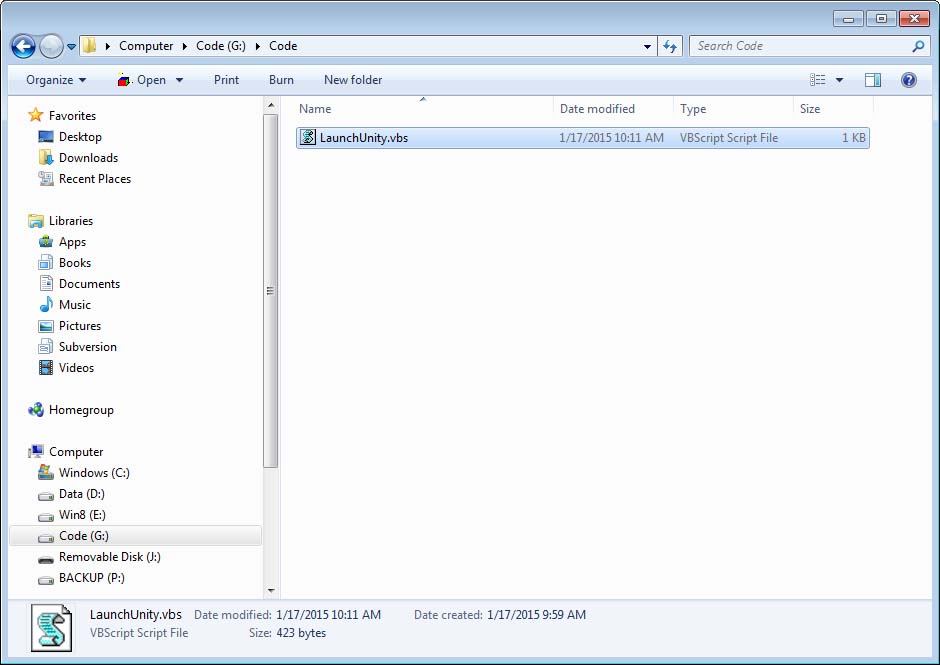
rename the file LaunchUnity.vbs
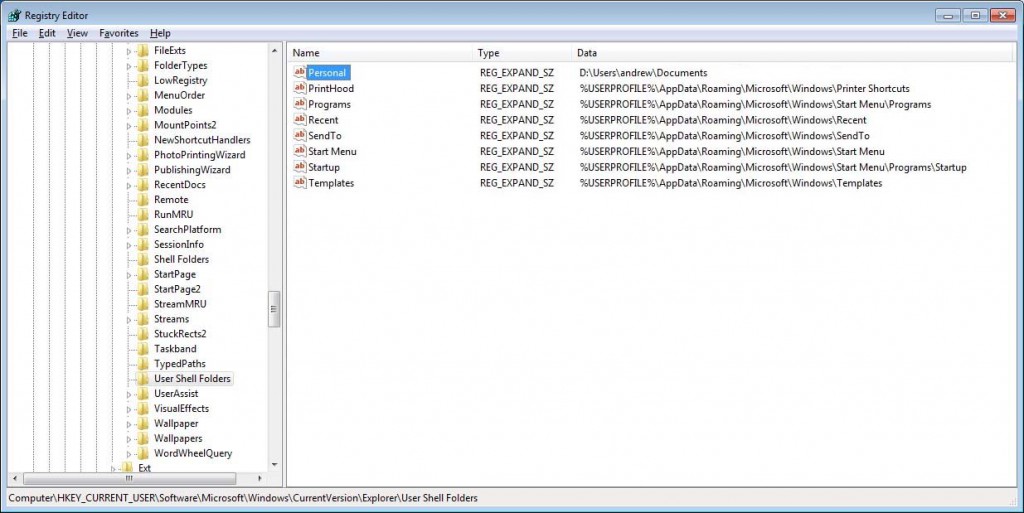
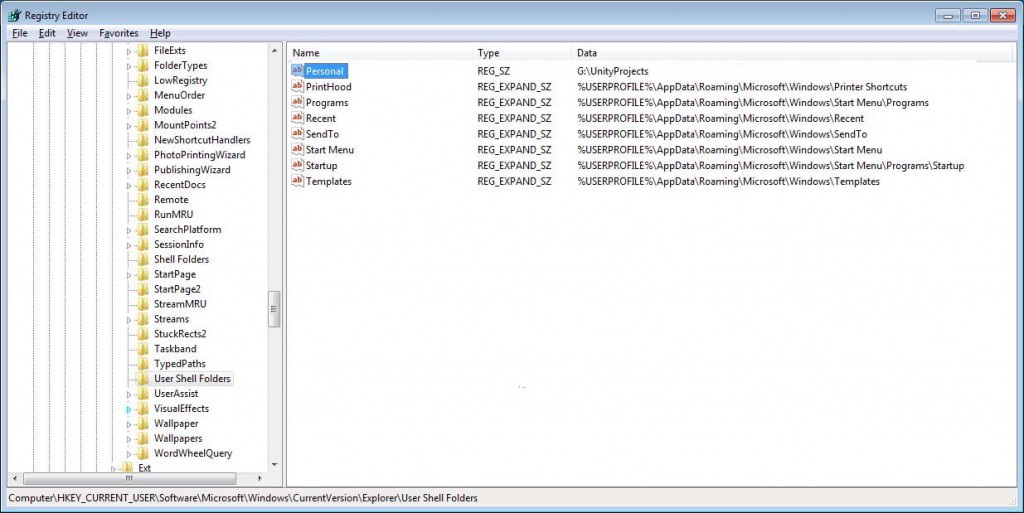
Open the Windows registry (e.g. regedit.exe) and browse to the key named HKEY_CURRENT_USER\Software\Microsoft\Windows\CurrentVersion\Explorer\User Shell Folders. Find the value named Personal. This is the value returned by the Microsoft SHGetFolderPath API. It should be of the form C:\Users\<yourname>\Documents.
Make a note of this value. You will use it later to update your Visual Basic script.
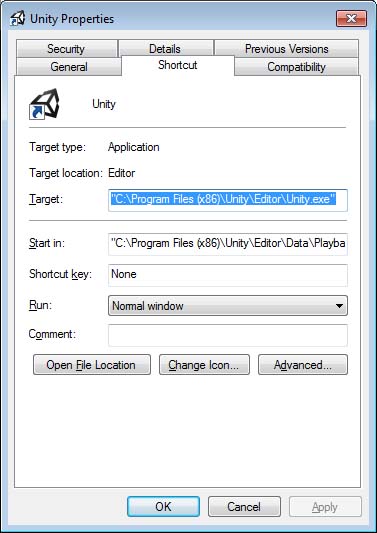
Now, right-click on your Unity3d icon and select Properties. Select the Shortcut tab and locate the Target textbox which contains the path to Unity3d on your system. It should be of the form “C:\Program Files (x86)\Unity\Editor\Unity.exe” but can vary based on where you installed Unity and if you are running 32-bit or 64-bit Windows.
Make a note of this value. You will use it later to update your Visual Basic script.
Now create the Visual Basic script to update the folder name and launch Unity. Right-click on the “LaunchUnity.vbs” file you created and select Edit.
Copy and paste the following Visual Basic script code into the LaunchUnity.vbs file
Dim WshShell
Set WshShell = CreateObject("WScript.Shell")
WshShell.RegWrite "HKCU\Software\Microsoft\Windows\CurrentVersion\Explorer\User Shell Folders\Personal", "C:\YOUR\PROJECT\FOLDER", "REG_SZ"
sReturn = WshShell.Run("""c:\Program Files (x86)\Unity\Editor\Unity.exe""" , 0, True)
WshShell.RegWrite "HKCU\Software\Microsoft\Windows\CurrentVersion\Explorer\User Shell Folders\Personal", "C:\YOUR\PERSONAL\FOLDER", "REG_SZ"
Replace the three strings “C:\YOUR\PROJECT\FOLDER”, “c:\Program Files (x86)\Unity\Editor\Unity.exe”, and “C:\YOUR\PERSONAL\FOLDER” with the default path you want to save Unity projects, the path to unity.exe, and your existing personal folder respectively. Warning: make sure you do not use a trialing \ on the paths or that will break the vbs script.
For example, here is my final vbs script using “G:\UnityProjects” as my custom project location and “C:\Users\andrew\Documents” as my existing personal folder.
Dim WshShell
Set WshShell = CreateObject("WScript.Shell")
WshShell.RegWrite "HKCU\Software\Microsoft\Windows\CurrentVersion\Explorer\User Shell Folders\Personal", "G:\UnityProjects", "REG_SZ"
sReturn = WshShell.Run("""c:\Program Files (x86)\Unity\Editor\Unity.exe""" , 0, True)
WshShell.RegWrite "HKCU\Software\Microsoft\Windows\CurrentVersion\Explorer\User Shell Folders\Personal", "D:\Users\andrew\Documents", "REG_SZ"
Launching Unity
When you want to use the new custom project location, simply launch Unity via the new LaunchUnity.vbs script you just created.
Verify the custom project location
Launch Unity via the LaunchUnity.vbs script you just created. Unity should launch as usual. If it does not then go back and verify you followed all steps correctly.
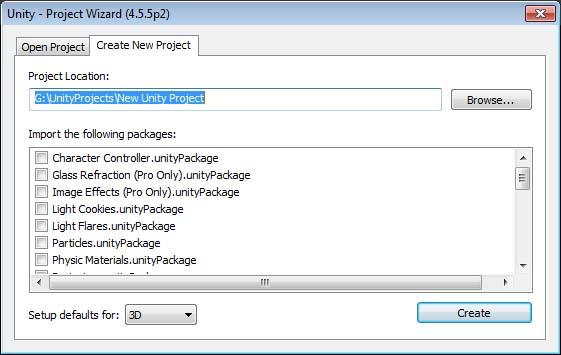
From Unity, select File | New Project … and you should see your new custom project location. Easy!
While Unity is running, you can view the Personal key in Windows regedit.exe. Press F5 in regedit to refresh the view. You will notice that it is set to you custom folder name.
When you close Unity, the Personal key will automatically revert back to its previous value.
Wrap up:
So, when ever you want to create a new project in Unity, simply open Unity with the LaunchUnity.vbs script. As a benefit, once the new project is created, Unity will automatically close itself and re-open so the Personal folder will be reverted back to normal after your new project is open!
Pros:
- Simplify new project creation in Unity3d
- Guarantee all new projects are placed within your developer storage
- Easy one-click launch of Unity3d configures the project location folder and terminating Unity3d automatically reverts your personal folder to its default value
- Since Unity automatically closes and re-opens after creating a new project the Personal folder will be reverted automatically after creating a new project
Cons:
- All programs requesting the Personal folder via the Microsoft SHGetFolderPath API while Unity3d is running will get the custom folder you defined for Unity3d. You can shut-down Unity to automatically revert the original folder name

