Occasionally I have a use for changing variables to test certain features when working on a project. In these instances I like to use a breakpoint to test values rather than recompiling with some test code or manually breaking and setting a value, I like to use the breakpoint itself to set the variable. This is fairly easy to do.
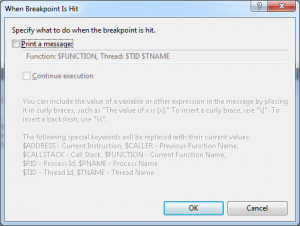
To create a breakpoint that sets a variable. Create a breakpoint where you want your vairable to be set in code in Visual Studio. Right click on the breakpoint and select the “When Hit…” option. You will see something like the figure below. Select the “Print a message:” checkbox.
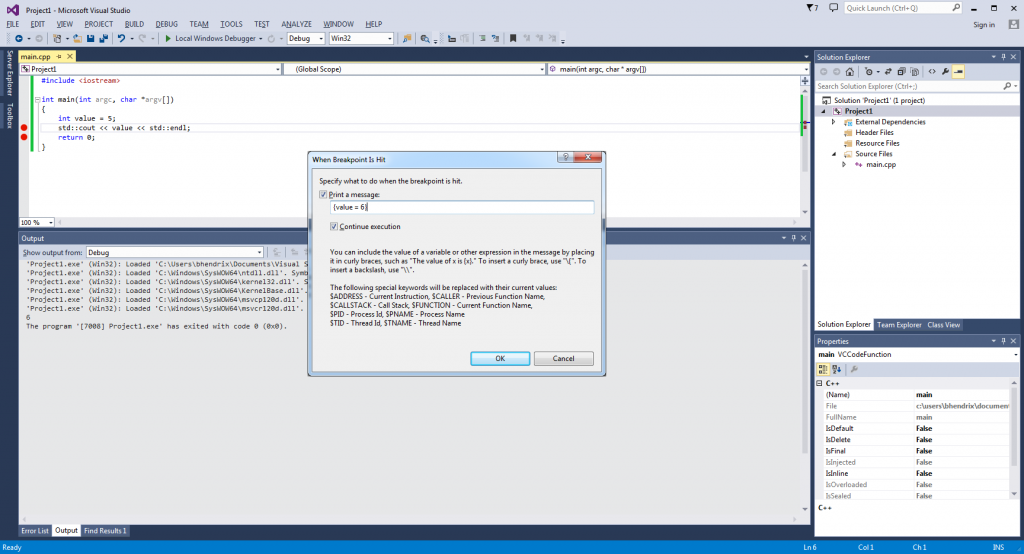
Delete the contents of the edit box and place the code that would set the value like the example below. When you are finished make sure the assignment is wrapped in curly braces.
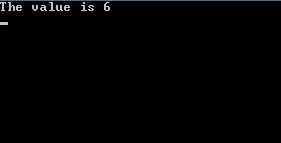
You can leave the continue execution box checked depending on your situation. Most of the time I leave this checked, because I like to have the variable set without me having to stop what I’m doing and intervene with the debugger. Below you can see the output from the simple program. The value has changed from 5 to 6.
 You can set multiple variables at once by putting each assignment in separate curly brace blocks. This is a great solution to test certain scenarios without having to fiddle with recompiling or stopping execution to set the value manually in the debugger.
One thing to note is that this is extremely slow and it will print the value you set into the debug window in visual studio. So doing this in a tight loop is probably not recommended. Currently I use a breakpoint that sets three variables differently between local debugging and remote debugging configurations.

