Background:
The amazing global economy opens many doors to your software product. Localizing your software in different languages will improve its success. While many people whose primary language is not English can probably trudge their way through your non-localized English software, a localized version of your software will always be a benefit; both to your customers and your product viability.
The task of localizing software varies based on the platform (iOS, Android, Windows desktop, Linux, etc) as well as the language being used (Java, C#, C++, Objective C, etc). Many old-school software engineers might recall a time when localization was designed and coded in-house; typically once, and then that software code was re-used on other projects. Regardless, the process was typically tedious and prone to bugs and glitches. Fortunately, today, the major development platforms offer simple localization features built-into their developer stack. This post will discuss localization of Windows applications using C#. View this other post regarding localization in Java on Android.
The task:
Okay, so you just created a cool Windows application in C# and now you’ve been tasked with localizing it into fourteen different languages. After staring at your non-localized application project in Visual Studio and searching the Internet you probably have some confusion about how difficult localizing your project actually is. I’ve seen many people obfuscate the simplicity of the task. There are various methods, but if you follow some simple rules, the process can be very painless. Adding new languages to a localization-ready project at any time in the project cycle is a simple process too!
Step by step:
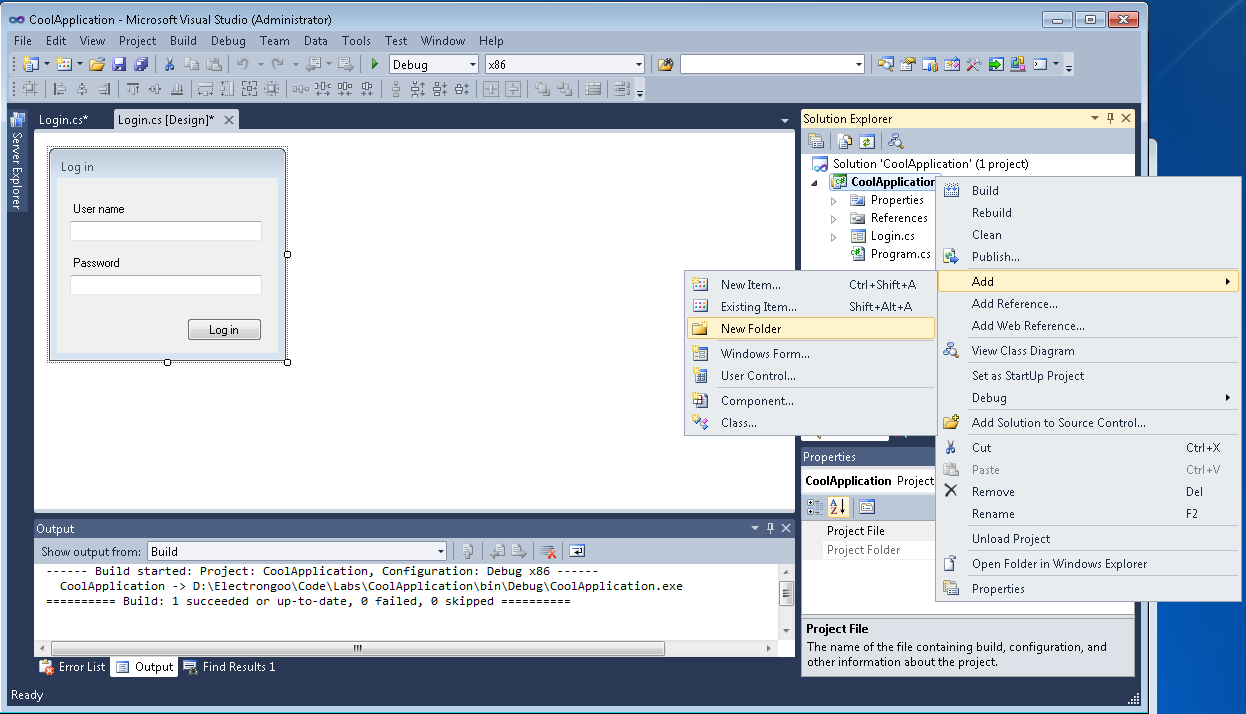
Open your project in Visual Studio. From the solution Explorer right-click on you project name and select Add | New Folder and name the folder Resources
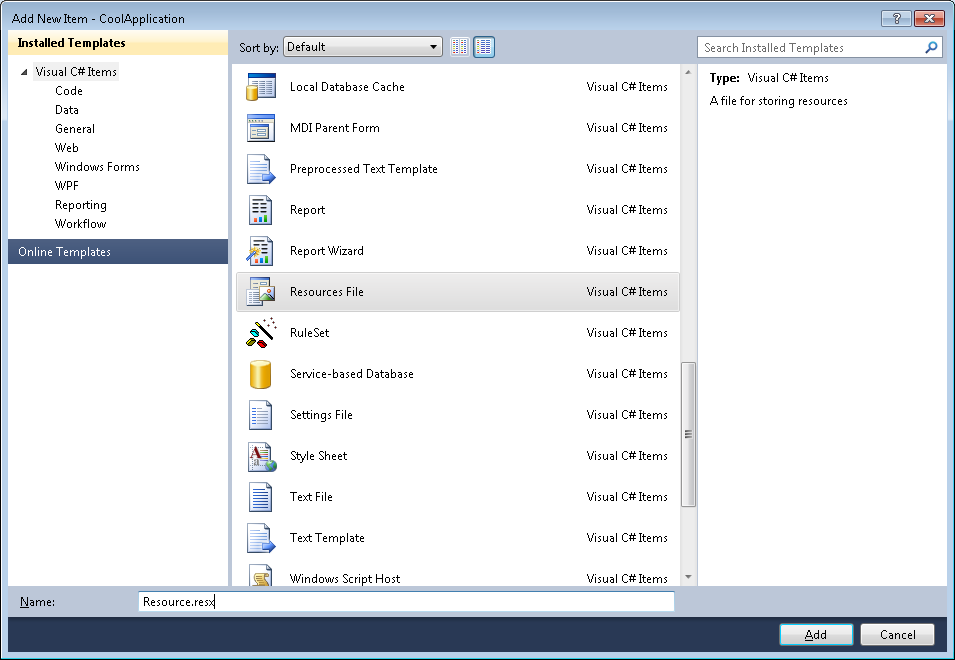
From the Installed Templates section, select Visual C# Items and then select Resource Files. This first resource file will contain your default native English resources strings. Name the file generically resources.resx to simplify the process.
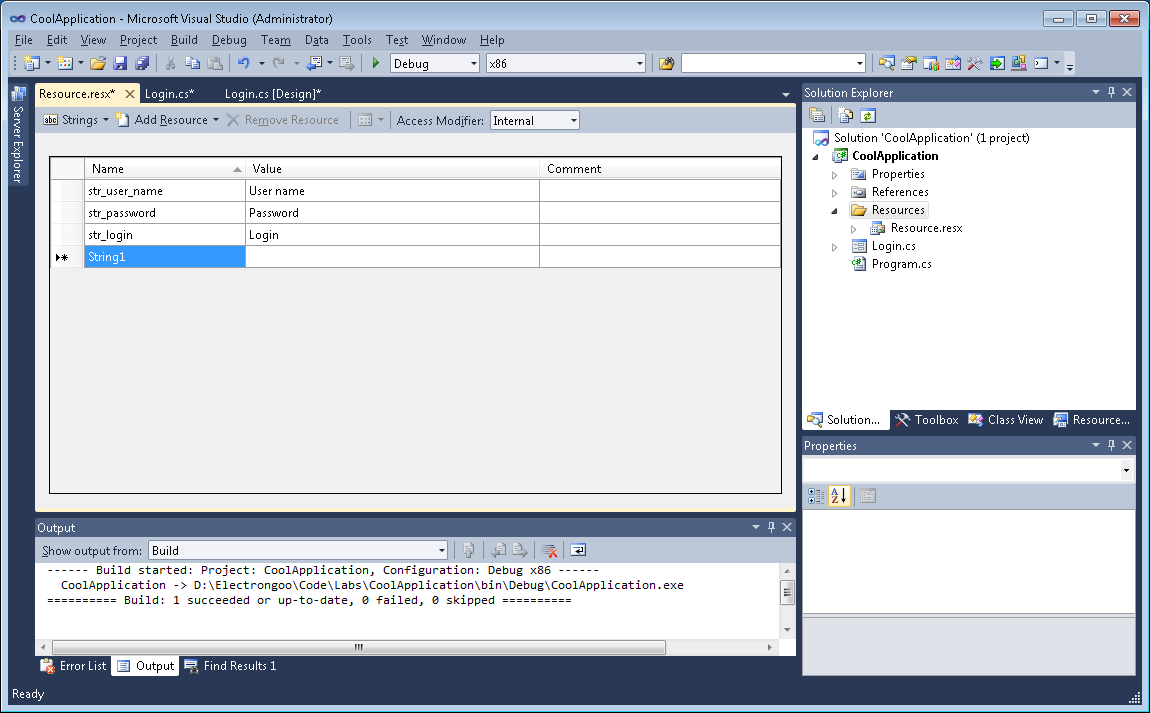
A new resource file will be created and will be displayed in Visual Studio ready for you to add the resource strings.
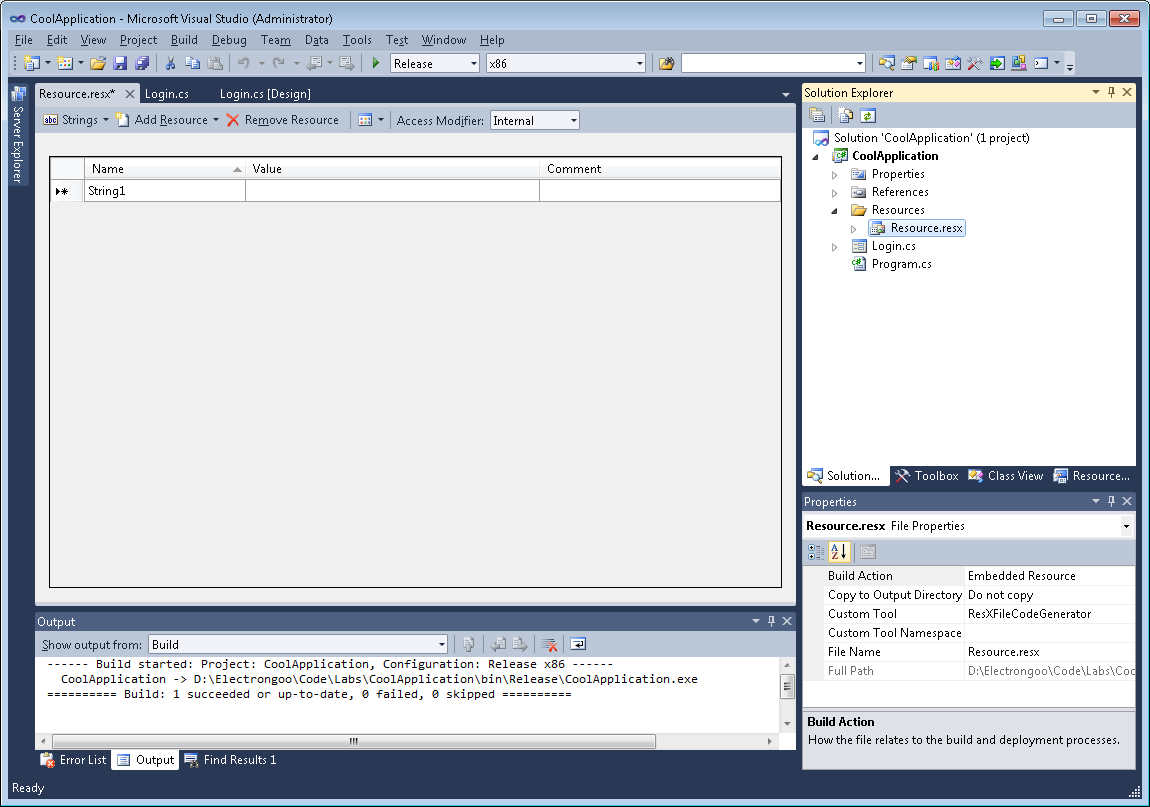
Enter each of the strings used in your project in the resx file. In the Name column enter a unique name that you can reference the string from within your code. I recommend prefixing each of your string names with str_ to make your source code easier to read. Enter the string as it will appear to the user in your software under the Value column. You will do this for each string in your project. Don’t worry if you don’t enter all of the strings at this time, you can always return and enter more strings. The key to success here is to ensure that your first resource file is complete, and contains ALL strings, before you begin to create additional resource files. You can add new strings at any time but make sure you add each new string to ALL resx files you create.
From the Solution Explorer, open one of your dialog files. Note, you will obviously have multiple dialog files for a single project; you will need to process each file. In the Design layout window make sure the dialog is selected then go to the Properties page and select the Events button (this will appear as a lightning bolt).

Scroll down to the “Load” event and double-click. The wizard will automatically create a new Load function, if it does not exist, which will be called by the Windows framework when the dialog is loaded but before it is displayed to the user. This is the preferred Windows event to handle updating resources in dialog boxes.
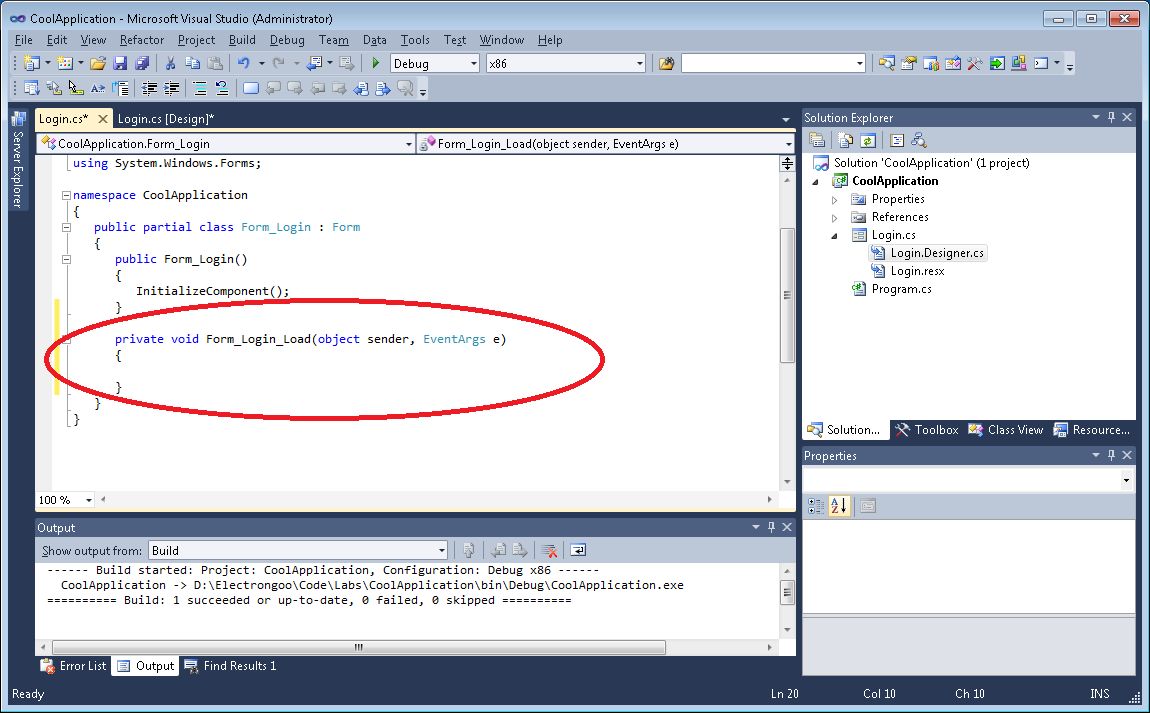
Now, within the Load() event handler, set the Text field for each of the controls within your dialog to a string you created in the resource file. You will use the Resources.Resource class to resolve each string
private void Form_Login_Load(object sender, EventArgs e)
{
  label_userName.Text = Resources.Resource.str_user_name;
  label_password.Text = Resources.Resource.str_password;
  button_login.Text = Resources.Resource.str_login;
}
Now, simply repeat the steps above for each dialog in your project. If you do this during initial development of your project it makes the task much easier. At this point, you have a fully ready to localize project.
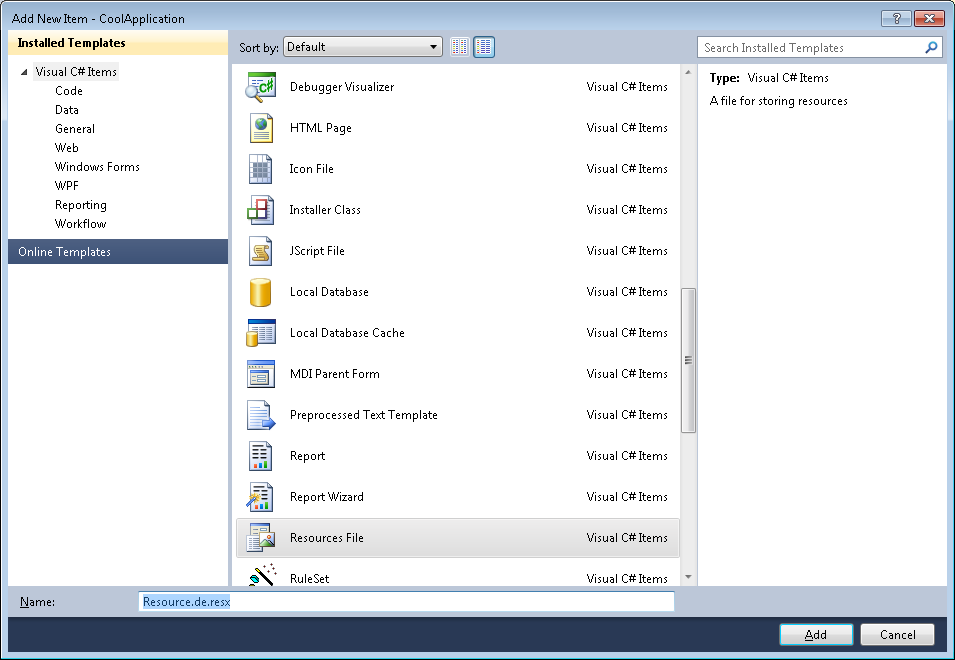
Now that you have all your dialogs using resources files and you have a base native English resource file, you can start creating new resources files; one for each language you want your project to support. The steps are similar to creating the base English resource file above. Right-click on the Resources folder and select Add | New Item then select Resources File and name the file based on the language being added. You must use the filename convention resources.XX.resx where XX is the two-letter language identifier. Doing so will greatly simply the localization process. For example, to create a German resource file create the file named Resource.de.resx and to create a French resource file create the file named Resource.fr.resx.
Now you have a new resource file to contain the strings for a new language. Now return to the base native English Resource.resx file and click on the box in the upper-left corner (or press Control-A) to select all of the strings and press Control-C to copy the strings to the Windows clipboard. Return to the newly created Resouce.de.resx file and press Control-V to paste the strings from the Windows clipboard into the new resx file.
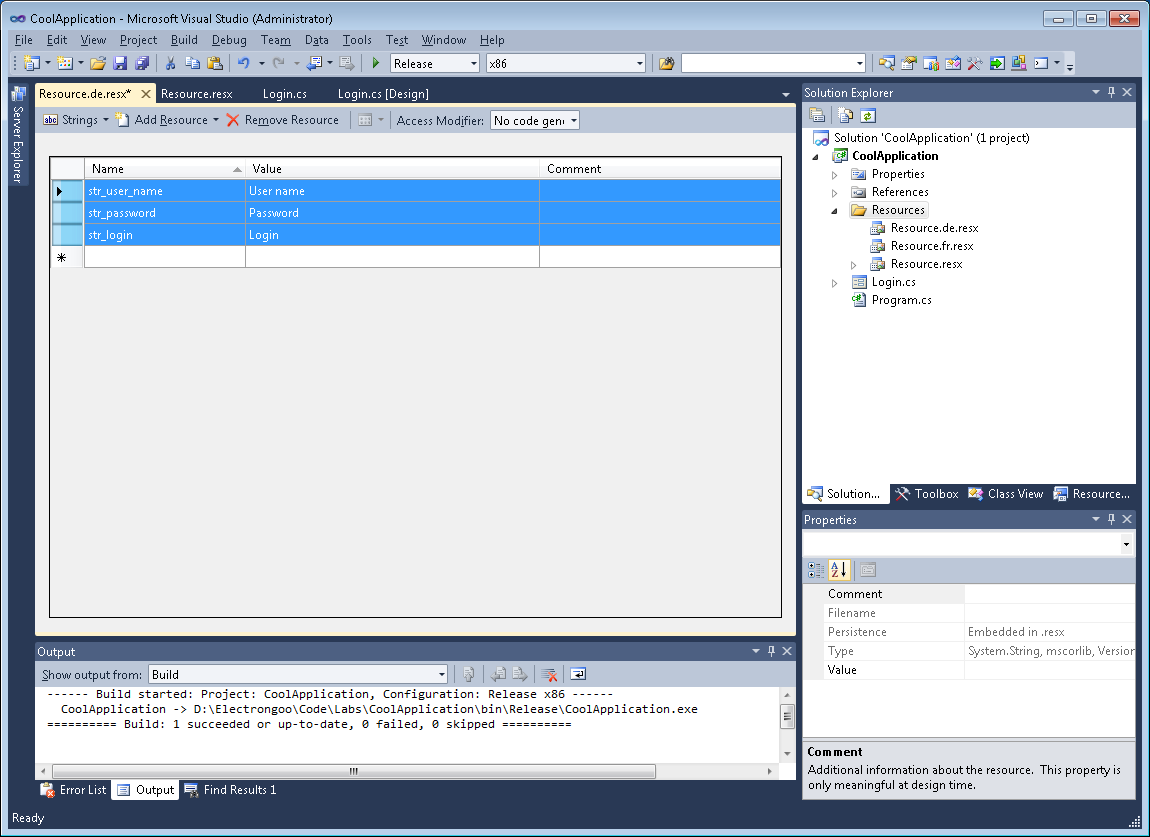
It’s that simple! Now, you have a localization-ready project which supports two languages. You can easily add new languages by creating new resources files under the Resources folder at any time. The key is to use the naming convention Resource.XX.resx as discussed above.
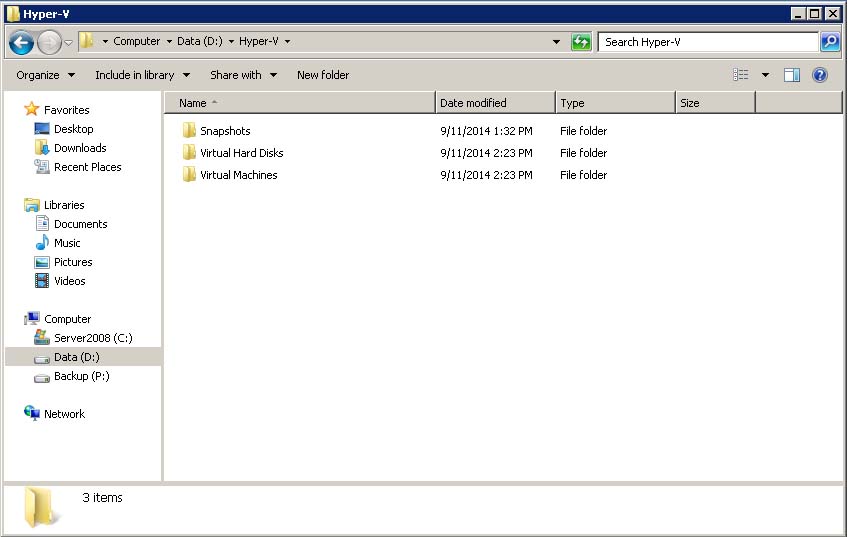
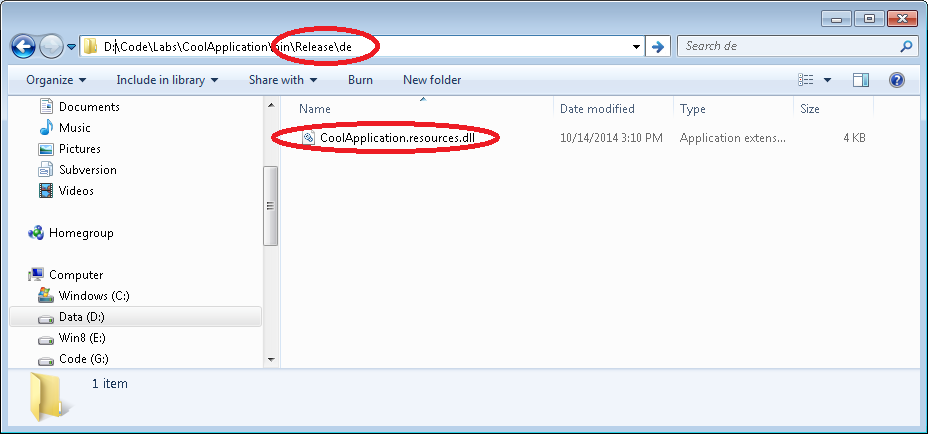
When you build your project, the resource files will automatically be created under subfolders named XX, where XX is the language code of the Resource.XX.resx file you created.
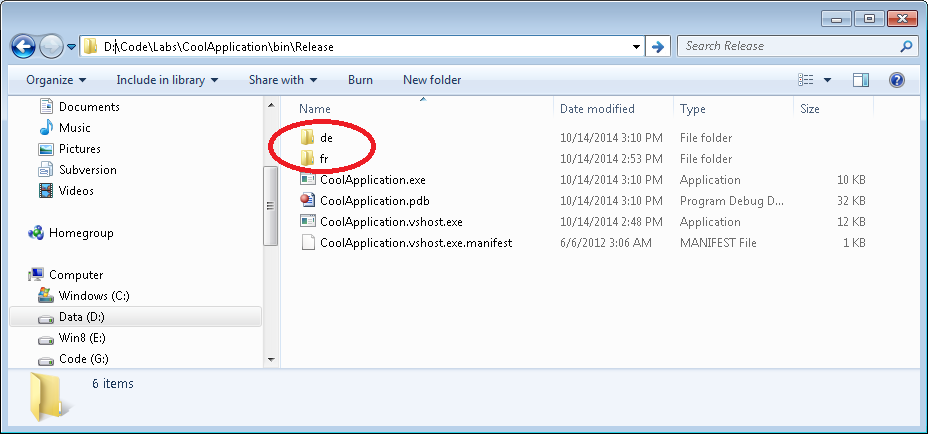
Each subfolder will contain the resource strings for the specific language
Finally, provide the Resource.XX.resx files you created to your localization provider such as inwhatlanguage.com for localization. When the resx files are returned to you, simply drop them into your project overwriting the previous temporary English versions and rebuild your project.
Make sure your project installer creates an identical folder structure under the folder containing your executable (this folder structure should look identical to the folder created by Visual Studio after a build). When you project starts it will automatically search that folder structure for a supporting language id. If the resource dll for that language exists then the resource file will be loaded. If it does not exist then the default native English resource file will be used.
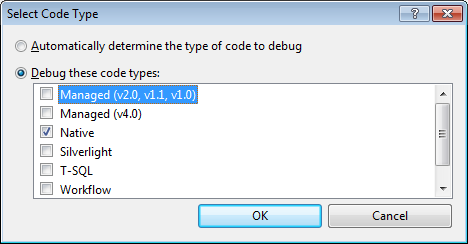
Debugging:
Debugging new localization files is simple. Simply add the following lines of temporary code to the primary Load() event handler in your project
using System.Globalization;

private void Form_Login_Load(object sender, EventArgs e)
{
   Thread.CurrentThread.CurrentCulture = new CultureInfo("de-DE");        //e.g. de-DE   zh-CN   ja-JP
Set the CultureInfo string specified in the constructor to the language-region code you wish to test. For example, to test German in Germany use “de-DE” and for Chinese in Hong Kong use “zh-HK.” A full list of language and region codes can be found here. Rebuild and run your project and the strings from the specified locality will be displayed automatically.
Tips:
- Even if you don’t have current plans to support localization, always build new projects targeted for localization by moving your text strings into a resource file and use the Resources.resource class to update all your user visible components
- Always name resource files with the format Resource.XX.resx (where XX is the two-letter language id) to simplify the build process
- Make sure your first native English resource file contains all of the strings before creating localized resource files. Adding new (or forgotten) strings to each localized resource file can be a painful repetitious task prone to errors